
Hamburger Cookies: Easy No-Bake Party Treat
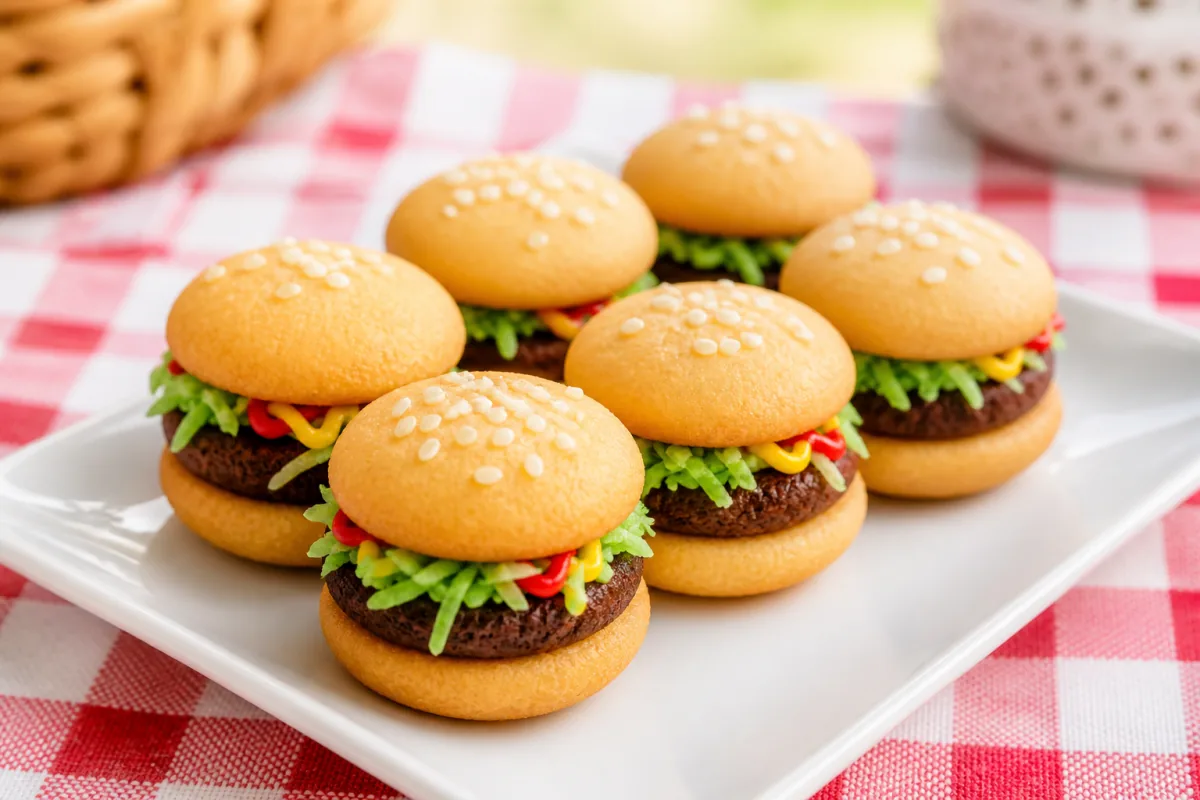
Hamburger cookies turn familiar supermarket cookies into tiny dessert “burgers.” There is no oven, no special mold and no delicate decorating technique: vanilla wafers form the buns, a small chocolate cookie becomes the patty, green coconut stands in for lettuce, and thin lines of colored frosting finish the illusion.
The recipe makes 20 and takes about 25 minutes of hands-on work. It is especially useful for summer cookouts, birthday parties and school events because every component can be prepared ahead and the final assembly is easy enough for children to help with under adult supervision.
At a glance
- Makes 20 no-bake cookie burgers.
- Use chocolate cookies slightly smaller than the vanilla wafers so the layers stay neat.
- Keep the frosting lines thin; too much makes the cookies slide.
- Prepare the colored coconut and frosting ahead, but assemble on the day of serving.
Image disclosure: The food images in this article are AI-generated illustrations. They are visual references; your finished cookies will vary.
Ingredients and Equipment
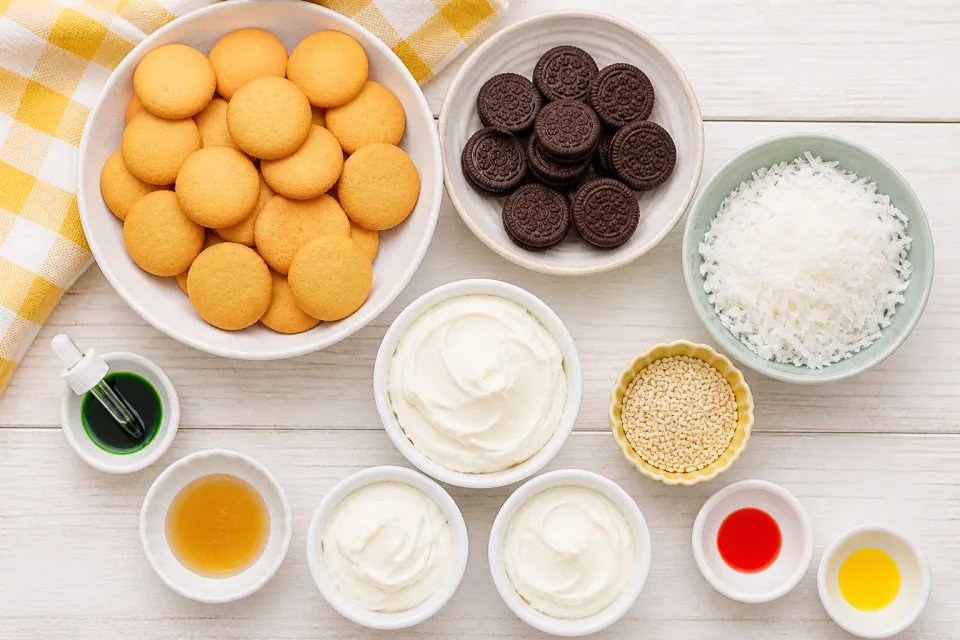
Ingredients
- 40 round vanilla wafer cookies
- 20 small round chocolate sandwich cookies
- 1/2 cup (45 g) sweetened shredded coconut
- 2 to 4 drops green food coloring
- 1/2 cup (120 g) white frosting, divided
- Red and yellow gel food coloring
- 2 teaspoons honey or light corn syrup
- 1 teaspoon sesame seeds
Equipment
- 3 small bowls
- Spoon or piping bags with very small openings
- Parchment-lined tray
- Clean food-safe bag or lidded container for coloring the coconut
Check every package if you are serving guests with allergies. Depending on the products used, these cookies may contain wheat, milk, soy, coconut and sesame. They are not suitable for anyone with a relevant allergy unless every component is a verified alternative.
How to Make Hamburger Cookies
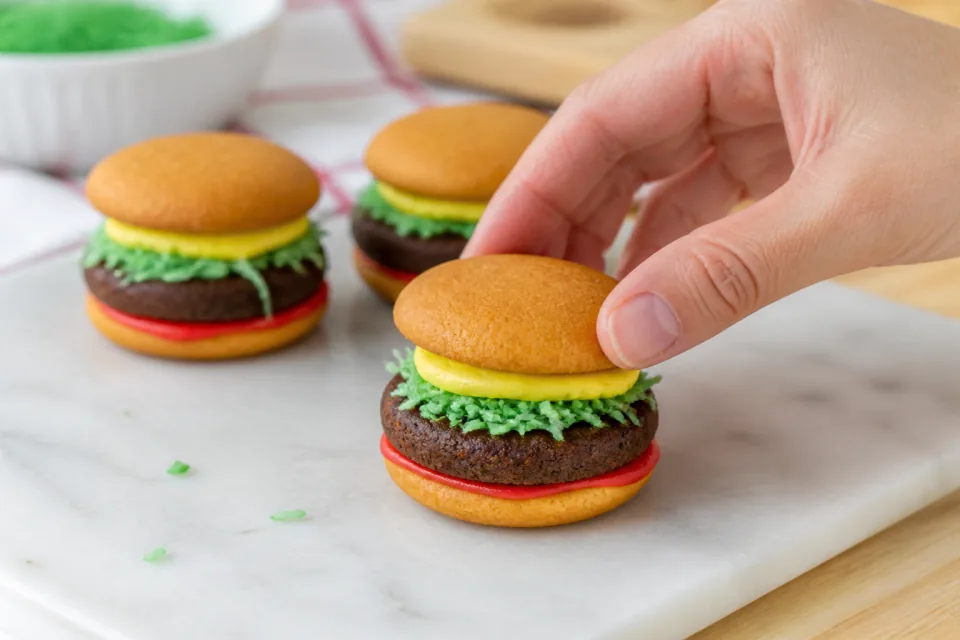
- Make the lettuce. Put the coconut in a food-safe bag or lidded container. Add two drops of green food coloring, close and shake. Add another drop only if needed; a mottled green looks more natural than a neon coating.
- Color the frosting. Divide the white frosting between two bowls. Tint one red and the other yellow. Transfer to piping bags, or use the tip of a teaspoon for narrow lines.
- Arrange the buns. Place 20 vanilla wafers flat-side up for the bottoms. Keep the remaining 20 nearby for the tops.
- Add ketchup and the patty. Pipe a thin ring of red frosting near the edge of each bottom wafer. Center one chocolate cookie on top.
- Add lettuce and mustard. Dab a little frosting over the chocolate cookie, add a small pinch of green coconut, then pipe a thin yellow line. Keep the layers within the edge of the wafer.
- Close the cookies. Add the top wafers, rounded-side up, and press very gently. Stop when the frosting just reaches the edge.
- Add sesame seeds. Brush or dab the top of each wafer with the thinnest film of honey. Sprinkle with sesame seeds.
- Let them set. Rest the cookies on the tray for 15 minutes before moving them to a platter.
How to Keep the Layers Neat
The most common problem is sliding. It happens when the frosting is too warm or there is too much between the layers. Use frosting at cool room temperature, pipe narrow lines and press only lightly. If the kitchen is very warm, chill the assembled cookies for 10 minutes, then return them to room temperature before serving.
Choose a chocolate cookie that fits inside the vanilla wafer. A larger patty makes the top bun rock and pushes the filling out. If the wafers are different sizes within the package, pair similar ones before you start.
For the sesame topping, the honey should be almost invisible. A thick coat softens the wafer and becomes sticky on the platter.
Make-Ahead and Storage
Tint the coconut and frosting up to two days ahead. Refrigerate them in separate airtight containers, then let the frosting soften just enough to pipe before assembly.
For the crispest wafers, assemble the cookies no more than six hours before serving. Store them in a single layer in a cool room. If your frosting label requires refrigeration, follow that instruction and refrigerate the finished cookies in a covered container.
Do not freeze assembled hamburger cookies. The coconut and frosting release moisture as they thaw, which softens the wafers.
Easy Variations
- No coconut: Use a narrow ring of green frosting for lettuce.
- Non-mint version: The recipe uses plain chocolate sandwich cookies, so the vanilla and chocolate flavors remain familiar.
- Chocolate buns: Replace the vanilla wafers with similarly sized chocolate wafers for a different color contrast.
- Party activity: Put the components in separate bowls and let guests build one cookie at a time. An adult should manage food coloring and allergy checks.
Frequently Asked Questions
Can I use peppermint patties for the burger centers?
Yes, if they fit inside your wafers and your guests like mint. Small chocolate sandwich cookies are easier to size, less slippery and match the version shown here.
How far ahead can I assemble hamburger cookies?
Assemble them on the day of serving, ideally within six hours. The separate coconut and frosting components can be prepared two days in advance.
Why are my hamburger cookies sliding apart?
The frosting is probably too warm or too thickly applied. Use narrow lines of cool-room-temperature frosting, then let the cookies rest for 15 minutes.
Can children make these cookies?
Children can help color the coconut and stack the layers with adult supervision. Check all product labels first when preparing food for a group.
Serve Them at Their Best
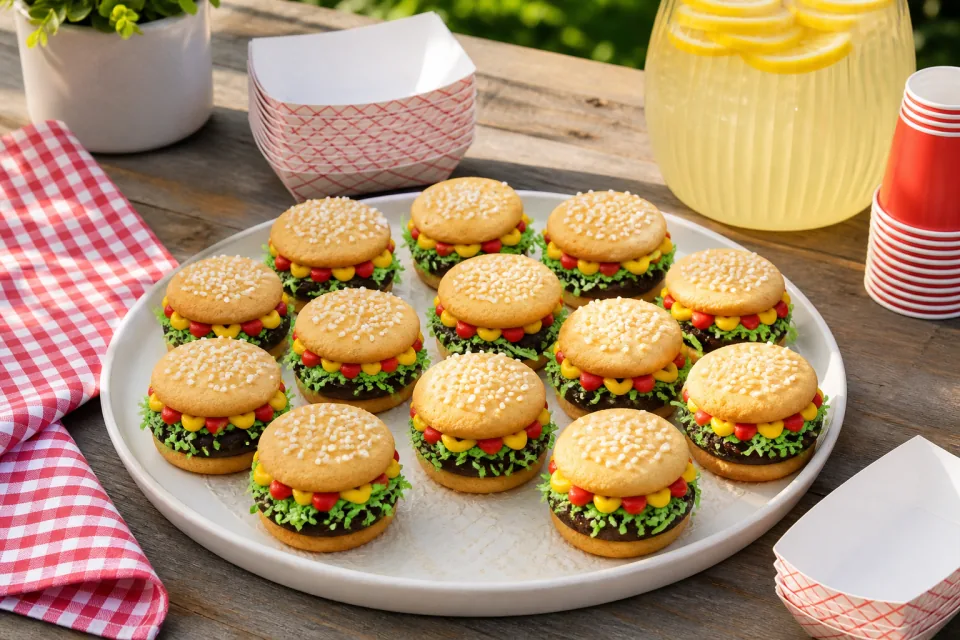
Arrange the finished cookies on a flat platter rather than piling them high. They pair well with fruit skewers or another simple dessert, but keep wet fruit from touching the wafers. For a baked alternative, try our Air-Fryer Chocolate Chip Cookies.