
Peanut Butter Blossoms: Soft Chocolate Kiss Cookies
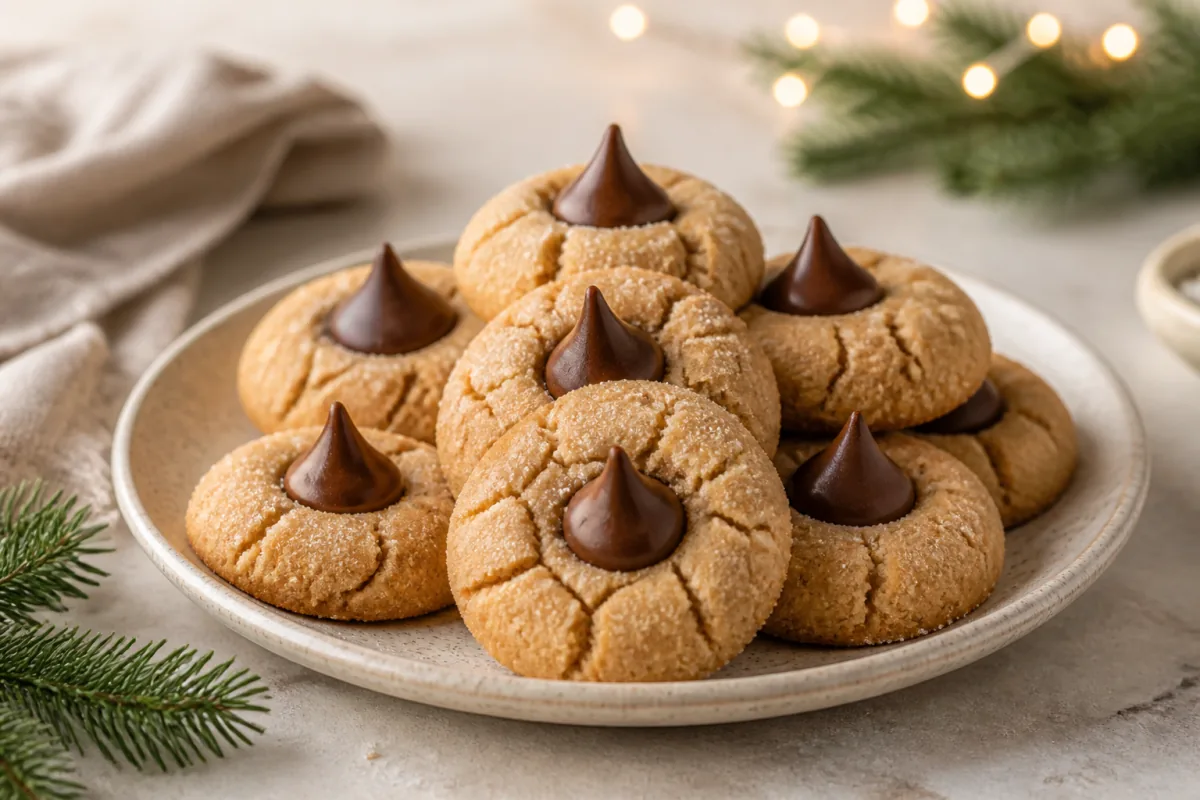
Peanut butter blossoms combine a soft peanut butter cookie, a crisp sugar coating and one chocolate candy pressed into the warm center. The cookie cracks around the chocolate as it settles, creating the familiar “blossom” shape without piping or icing.
The key is consistent timing: unwrap the chocolates before baking, press them into the cookies as soon as the tray leaves the oven, and then leave the cookies undisturbed. The chocolate will turn glossy from the heat but should keep its shape as it cools.
At a glance
- Makes about 24 cookies.
- Use shelf-stable creamy peanut butter for predictable dough texture.
- Chill the dough for 20 minutes before rolling.
- Add the chocolate immediately after baking, then let it reset completely.
Image disclosure: The food images in this article are AI-generated illustrations. They are visual references; your finished cookies will vary.
Ingredients
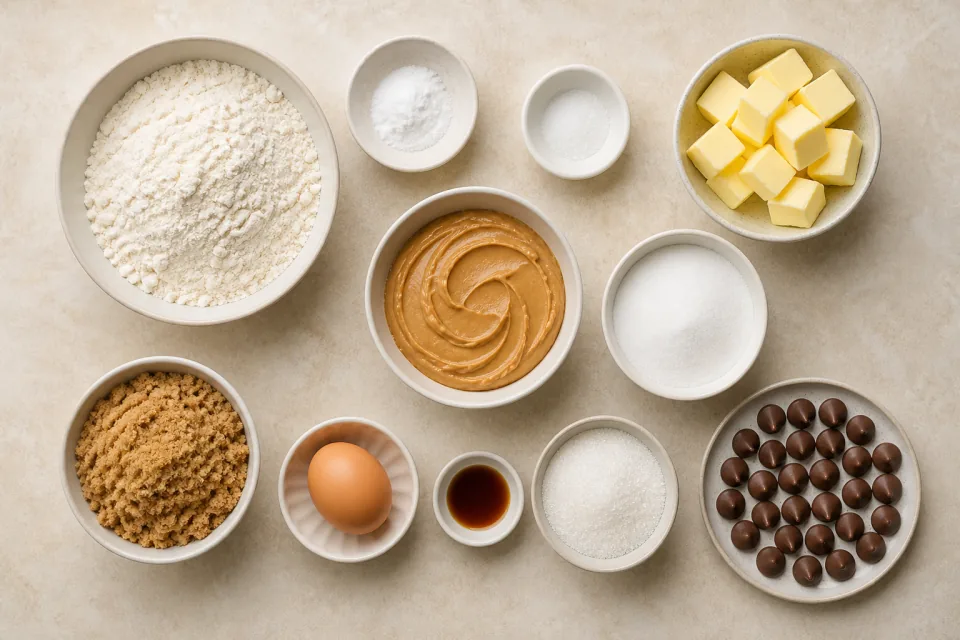
- 1 3/4 cups (220 g) all-purpose flour
- 1 teaspoon baking soda
- 1/2 teaspoon fine salt
- 1/2 cup (113 g) unsalted butter, softened
- 1/2 cup (135 g) shelf-stable creamy peanut butter
- 1/2 cup (100 g) granulated sugar
- 1/2 cup packed (100 g) light brown sugar
- 1 large egg, at room temperature
- 1 teaspoon vanilla extract
- 1/3 cup (65 g) additional granulated sugar, for rolling
- 24 unwrapped solid chocolate drop candies
Do not serve this recipe to anyone with a peanut allergy. It also contains wheat, milk and egg, and some chocolate products contain soy. Always check the individual packages when baking for a group.
How to Make Peanut Butter Blossoms
- Prepare. Whisk the flour, baking soda and salt in a bowl. Unwrap 24 chocolates and set them within reach. Line two cool baking sheets with parchment.
- Cream the fats and sugars. Beat the softened butter, peanut butter, 100 g granulated sugar and brown sugar for 2 to 3 minutes, until evenly blended and slightly fluffy.
- Add egg and vanilla. Beat in the egg and vanilla, scraping the bowl so no dense streaks remain.
- Add the dry ingredients. Mix on low only until the flour disappears. The dough should be soft but not oily.
- Chill. Cover and refrigerate for 20 minutes. Meanwhile, preheat the oven to 375°F (190°C) with a rack in the center.
- Shape and coat. Put the remaining 65 g sugar in a shallow bowl. Roll level tablespoon portions of dough into 1-inch/2.5 cm balls, then coat each ball in sugar. Place them 2 inches/5 cm apart.
- Bake. Bake one tray at a time for 8 to 10 minutes. The cookies should look puffed, lightly cracked and just set at the edge.
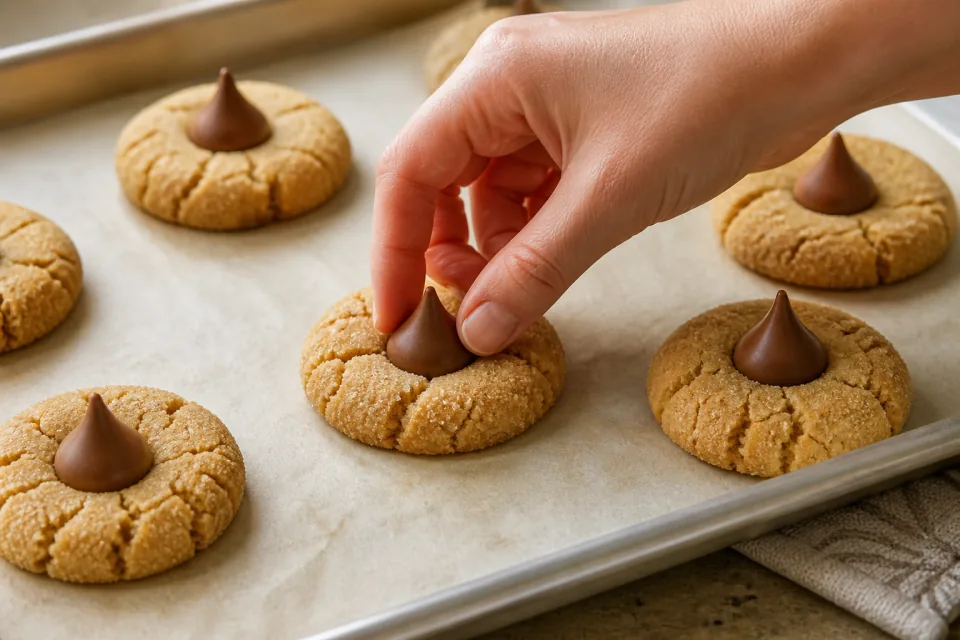
- Add the chocolate immediately. Take the tray from the oven and press one chocolate into the center of every cookie while it is still warm. The cookie will crack further around the edge.
- Cool without touching the tops. Leave the cookies on the tray for 5 minutes, then transfer them carefully to a rack. The chocolates may stay soft and glossy for one to two hours.
Why Shelf-Stable Peanut Butter Works Best
Natural peanut butter varies in oil content and can separate even after stirring. That may make the dough greasy, crumbly or prone to spreading. A smooth shelf-stable peanut butter gives a more repeatable ratio of fat, sugar and peanut solids.
If natural peanut butter is all you have, thoroughly stir it, chill it first and bake one test cookie. The result may still differ from the texture shown here, so do not add extra flour until you have tested one portion.
Troubleshooting Peanut Butter Blossoms
| Problem | Likely cause |
|---|---|
| Cookies spread too much | Warm butter or insufficient chilling |
| Dough crumbles when rolled | Flour overmeasured or peanut butter unusually dry |
| Chocolate loses its shape | Hot tray moved or tops touched while soft |
| Cookies are dry | Baked too long |
| Sugar coating disappears | Dough balls were only lightly dusted |
Do not refrigerate the hot tray simply to force the chocolate to set. A rapid temperature change can create condensation. Let the cookies cool at room temperature in a cool part of the kitchen.
Make-Ahead, Storage and Freezing
Cover and refrigerate the dough for up to three days. Let it sit at room temperature just until scoopable, then roll in sugar immediately before baking.
Store fully cooled cookies in an airtight container for up to five days, with parchment between layers. Wait until the chocolate centers are completely firm before stacking.
To freeze unbaked dough, shape the balls without the sugar coating and freeze them on a tray. Transfer to a freezer bag for up to three months. Thaw overnight in the refrigerator, roll in sugar and bake as directed. Baked cookies can also be frozen for up to two months once the chocolate is firm.
Variations
- Use dark chocolate drops for a less sweet center.
- Roll the dough in coarse sparkling sugar for extra crunch.
- Use mini peanut butter cups that fit the cookies, adding them immediately after baking.
- Add 1/4 teaspoon ground cinnamon to the flour for a warm holiday note.
Frequently Asked Questions
Should I wait before adding the chocolate?
No. Press it into the cookie immediately after the tray comes out of the oven. The chocolate may soften, but leaving it untouched allows it to keep its shape and reset.
Why did my peanut butter blossoms turn out dry?
The most common causes are too much flour and overbaking. Weigh 220 g flour and remove the cookies when their edges are just set.
Can I use crunchy peanut butter?
Shelf-stable crunchy peanut butter can work, but the dough is less smooth and may crack more while rolling. Creamy peanut butter gives the most consistent shape.
Can I freeze the cookies with the chocolate on top?
Yes. Freeze them in a single layer first so the tops are protected, then pack with parchment between layers for up to two months.
Serving
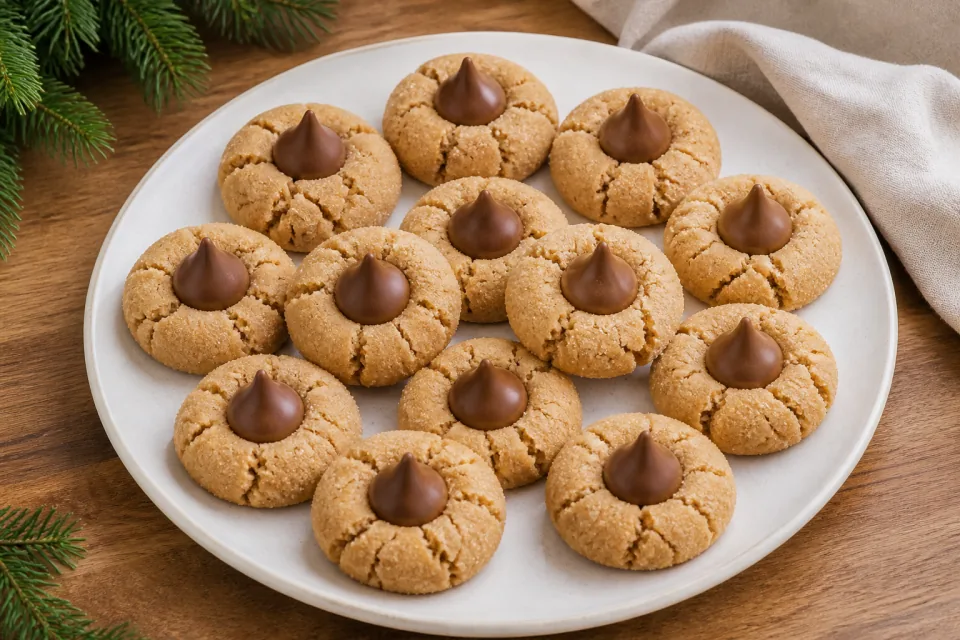
Peanut butter blossoms are especially useful for cookie exchanges because the dough can be prepared ahead and the finished cookies travel well once their centers are set. Add Soft and Chewy Chocolate Chip Cookies for a contrasting chocolate-studded option.